You guys, I don't think I've ever been so excited about finishing a miniature as I am about this one! In case you haven't been with me for the whole journey, here's a little background to explain: This bookstore in a book is part of my larger project called "Whimsy Street Shopping District", which is a street of quarter scale (1:48 scale, or O scale if you are into model railroads) shops, for which the buildings are something that is sold in, or related to what is being sold in, the shop. (I have a florist and garden shop in a watering can shaped building, an art gallery with a frame as it's store front, a toy store in a chest, this used bookstore in a building shaped like books, and the last shop - which is yet to be completed - is an ice cream shop in an ice cream carton building). The street of shops was started back in 2017 and I had planned to have the entire project done that year, which obviously did not happen, so getting any of the stores done and closer to the entire project being done is exciting, but this store even more so than the others. The other 3 completed stores were all finished in the same year in which they were started, this store however has had a much longer journey from start to finish. I started it in 2018, after finishing the toy store near the end of the year. Sometime after getting the main structure of the building done I put it, and all the supplies I had for it in a bin, and stowed it under my workbench, thinking that it would just be for a little while. A little while turned into not actively working on it any in 2019 and finally pulling it back out to get back to work a few months ago. After having such a long gap between starting and finishing the shop it feels so good to be able to say that it is finished! It's also really exciting because it means that now I have only one shop left to have all of the shops done, which means I will soon be able to put them all together as one street! I also have to say that this might be my favorite of the shops, if I had to pick a favorite, I am a huge bibliophile, and this shop has a lot of little details with personal significance. But don't get me wrong I really love all the shops... lol.
The last I posted about this shop was after I had finished most of what was filling and decorating the shop. I did end up adding a couple more details after that though and of course had a bunch more books to add to the inventory and get all the interior architectural details installed before it was complete.
Let's start with the architectural elements... If you follow the Joanna's Dollhouse Diaries Facebook page you may have seen some of this in progress, and if you read the last blog post you got a glimpse of the railing around the open section of the second floor, but I've yet to go through all of that on the blog itself so here goes:
The second floor of the shop is sitting on molding that creates a crown molding for the first story of the shop. It is actually meant to be, I believe, chair rail molding for 1:12 scale (purchased at Hobby Lobby), but I originally bought it to make a chunky frame for a quarter scale painting, and have since used it for several frames as well as applications such as this. (This is also the same trim I used to make the frame around the bulletin board behind the front counter). The little lip on it was perfect to be able to set the floor right down onto, not only for it's final installation, but also to hold it nicely in place to test fit and check different elements before installing the ceiling/floor.
The underside of the floor, of course, is the ceiling of the first floor, and I gave it a "tin" ceiling with a textured cardstock from the scrapbooking department with some white paint dry brushed over it to give it an aged look.
The second floor floor is done the same way as the first floor, strips of wood patterned cardstock/scrapbook paper glued down one by one. The railing around the open area I got from MiniMinutia on Etsy, and it is just so perfect I think. And she was really great to work with, I was able to get a piece custom cut to length and it looks so good!

The spiral stairs I got several years ago from a seller on Shapeways.com, back when I was first planning out the project, and unfortunately I don't have the info for it anymore, but Shapeways is a great place to check out for all sorts of 3D printed items, its kind of like the Etsy of 3D printing.... Because of the height of my structure I needed a relatively tall ceiling height for both floors (although to not make it too crazy the second floor has a much higher ceiling than the first floor) so the stairs needed a little boost at the bottom to fit. At first I thought to just have a little platform more as a first step for them, but then I decided to use the platform to define the children's book area a little more. It, of course, has the same flooring as the rest of the store.


Attaching the stairs was a bit of a challenge, but did actually end up going much better than I was afraid it might possibly go. Because the stairs really couldn't stand up on their own it was really wonky trying to get them test fit and be positive that they were actually in the correct location and height and the ceiling height and platform height were good, so I was really half expecting for it not to all match up and to have to figure out some way to fix that once it was in place, but miraculously it actually all fit like a glove (phew). I attached the stairs to the floor at the top first and then glued the floor and stairs in place at the same time.


After having everything in place for a while (and actually after having the children's area downstairs completely finished, which I'll talk about in a minute) I decided I wanted a chandelier hanging from the second floor ceiling down into the opening between the floors. This was something I had actually considered doing for the store a while back and then kind of decided "eh, it doesn't really need it", but the idea of how to make it was still rolling around in my head (and if I'm being honest I was putting off having to make all the books for the upstairs bookcase), so I decided to give it a go after all. I based my chandelier and how I made it off of a tutorial I saw on a blog for a 1:12 scale (working) light fixture, and also off of the light fixture I have in my real life living room. Rather than cut my own pieces though I had a piece of scrapbook paper I was able to cut the shapes from and then cut them in half. I then glued 3 layers together for thickness and glued them to a tiny piece of a coffee stir straw at the top and bottom and finished the bottom with tiny punched pieces of black cardstock and a seed bead and a dot of hot glue pulled to a point and trimmed to a nice length, once everything was painted black it turned out really well. The "globe" in the middle is just a frosted bead. I hung it with very thin jewelry chain and gave it a little ceiling
plate by flattening out a decorative bead cap that I already had. (It is a little lopsided from not getting glued perfectly evenly to the
straw bits, but rather than redo the whole thing I chose to just be okay
with that this time around because the way it hangs in the store it's
not terribly obvious I don't think..... but now I know to be extra
careful of that next time.)


I did consider trying my hand at making this a working light to give a little more light in the store but 1. I didn't have anywhere to hide the battery box and switch, and 2. none of the other stores have working lights so I thought it would be weird for just one to have anyway.
With all that done, all that was really left was to finish dressing the store (club chairs by the window upstairs, a bookcase along the entire long wall up stairs, bookcase and rack for the children's book area and all the rest of the books) The bookcases and rack were no problem to get together. The bookcases, like the first one I made for the first floor, where made from scratch, and the spinner rack in the children's book section was made from a kit from True2Scale.com. I did shorten the height of the rack a bit though since it is holding kids books.


Now to the books. I honestly really hyped myself up to not want to have to do the rest of the books and kept putting it off and putting it off until there was literally nothing else left I could do except getting them done. I did the kids book section first (and then procrastinated on the rest by making the chandelier and a poster for the kids section....) and I ended up using pictures I took of books I have in my own library/collection, for the picture books as individual books with the front covers showing, and for the other books, as rows of books, which I then glued to strips of balsa wood and embossed/ pressed the space between each book to give them a more realistic look. I had previously considered doing all the books that way, but it just didn't have the right look for the rest of the books, but actually I thought worked pretty well for the kids books..... why I liked it for those and not any of the others I don't know, but it was nice to not have to do all of those books individually at least. Lol.


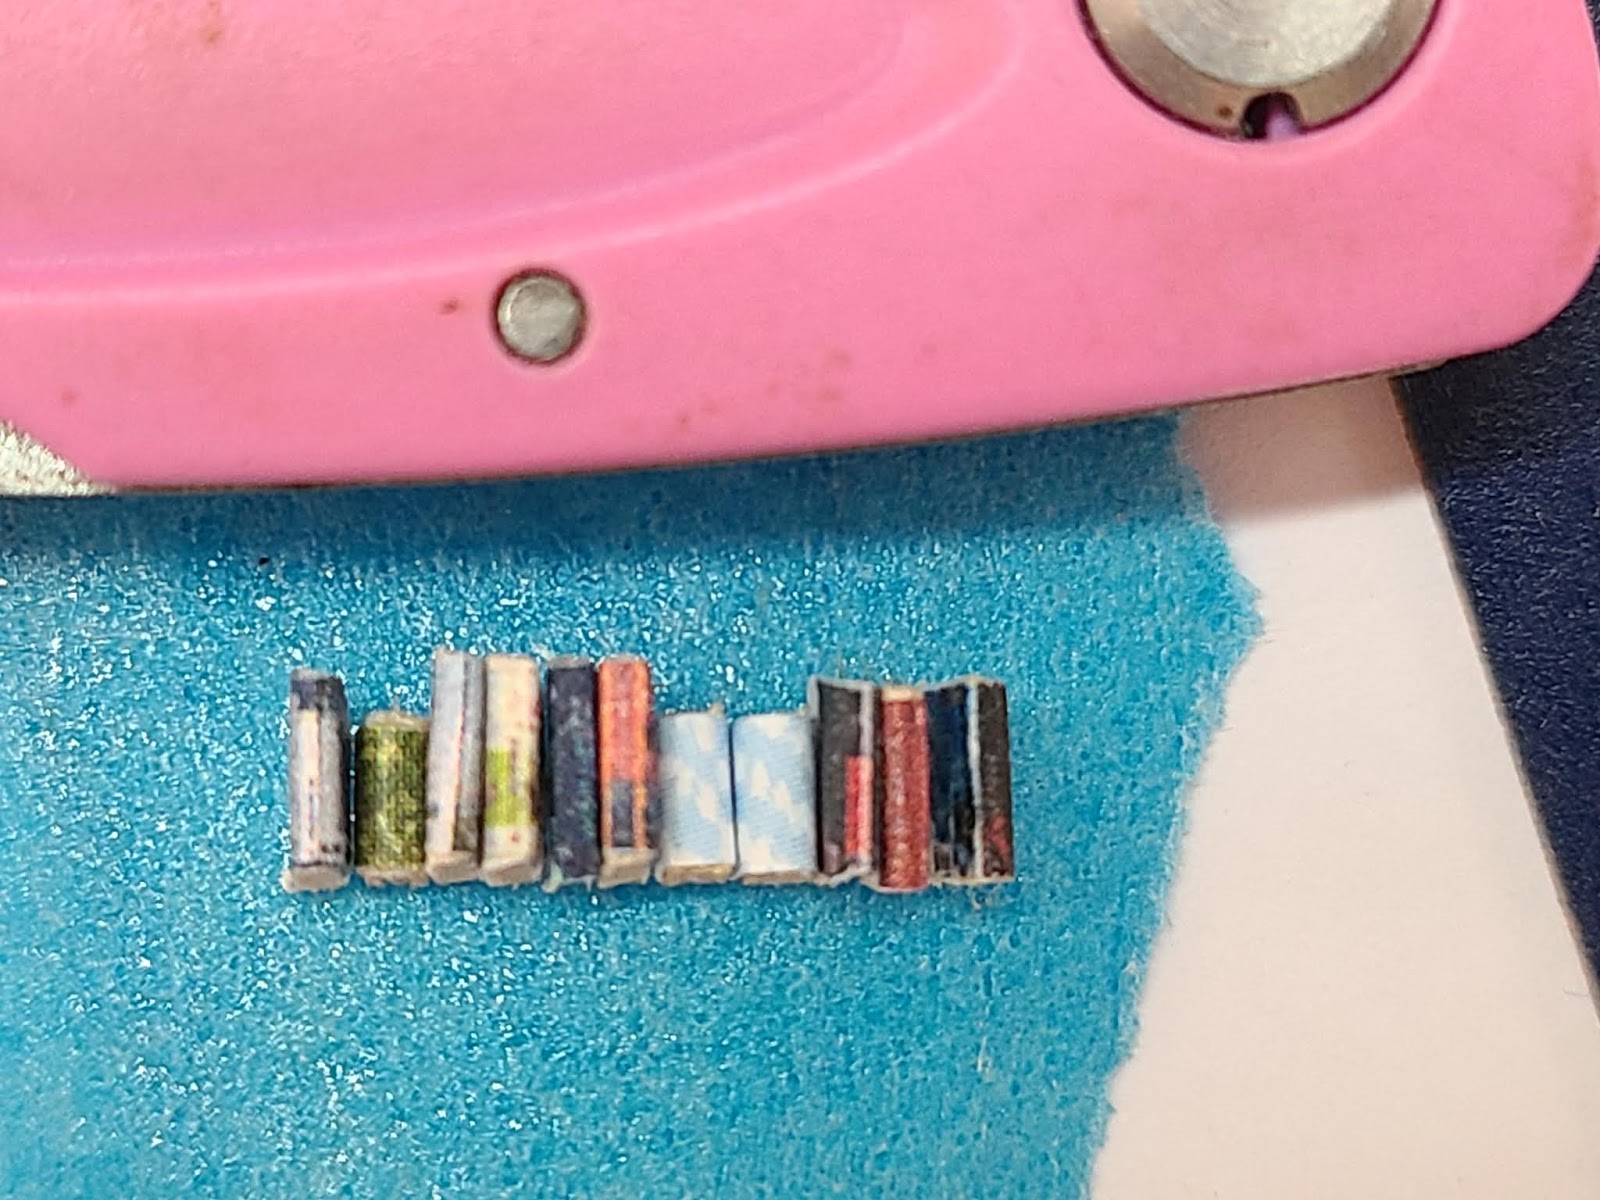
For the books for the upstairs though, I knew I wouldn't be satisfied with printing rows (and also getting pictures of rows of books would have taken a ton of effort and time), but I also wanted the books upstairs to look like paperbacks/have printed spines so they were going to need to each have a book cover printed out and each one cut out and glued around the wood individually and somewhat carefully (so that the spines of the books were positioned correctly along the edge of the wood), and I seriously was not looking forward to that and really did keep putting it off and then had to finally just force myself to get working on it. I ended up using the covers of books that I own sized down and printed, and I have to say I think this part of this store was the most physically taxing miniature project I've ever done....... you may be asking yourself how that could be..... well, just early this year I took all the books that were on the main level of the house in a couple different rooms and carried them all upstairs to the room that I am working on turning into a library, so, I ended up having to carry batches of them back downstairs to where my scanner and computer are in my office, and then back up stairs to the future library. I actually ended up not doing as many different book covers as I had planned and just made multiple books with the same covers by printing the sheet of covers multiple times.


I then debated if I wanted to make sure that all the same books were together on the shelves, but by then they were all mixed up so I decided no. You can't see/read the spines well enough to really tell anyway and I wanted to just grab a random hand full of books and glue them together.

Which actually making these last 317 books this way ended up being way easier/quicker/smoother than I expected and getting the shelves filled was much less stressful than the bookcase down stairs because I really did just grab the books randomly and not worry at all about what books were going on what shelf or how they were distributed or anything. Downstairs I paid a lot more attention to making sure I had a good distribution of the colors and styles of the spines and I had to worry a little about the height of the books because some of the shelves ended up a little too short, but none of that became a factor upstairs. Even though it was much less stressful than I expected it did take me most of the day to do and I have to say by the time I was done my back was sore, my shoulders were sore, my head was starting to hurt, and actually even my hips were sore because of the way I had my legs so that my feet were on the bottom shelf of my workbench. So, note to self, next time I am sitting at the workbench most of the day working on something tiny and precise, take more stretching breaks and probably stand for a while, while working on it. lol.

But it was all worth it because the books were done! I decided I didn't want to put books on the top shelf of each column because they had somehow ended up being taller shelves than the rest and I wasn't quite sure what I wanted to put there, but I knew that, by that point, it needed to be something easy and quick to make. I ended up deciding to do bookends sets. A couple of them were a little finicky to make, but still pretty quick, and while if you really pay attention to the size too much they are a little big, I do like how they look and turned out. Once the bookends were glued in place all that was left was to glue a back onto the bookcase and glue it in place in the store and "The Librarian and The Bookworm Used Books" was officially finished!
And here are the finished pictures: (I also did a little photo shoot of the shop with some actual books as a Facebook exclusive bonus, so if you haven't already seen them make sure to check out my Joanna's Dollhouse Diaries Facebook page!)